Julio is a teacher and he uses Pinguino to develop real robot with students.
This one is the last robot they built with recycled parts.
Congratulations to Julio and all the students working on this project.
Visit Julio's blog, it's a great source of information for Pinguino and electronic.
Wednesday, August 31, 2011
Friday, August 19, 2011
Pinguino Data logger
I discovered this great video today !! This Pinguino data logger built with a 8 bits Pinguino and Gambas is really nice....
Congratulations !!
Congratulations !!
Wednesday, August 17, 2011
Pinguino 32 with Android.
First test of Pinguino32 with Android is done. We incorporated in Pinguino32X the IOIO ADB library and everything is working fine. My son, Thomas presents here my first Android/Pinguino application ( as usual I drive Led !! )
As most of Android devices are not yet upgraded with Android 2.3.4, we decided to use ADB protocol wich is compatible with Android 1.6 and higher. As usual in Pinguino IDE, you need only 3 instructions to establish a link with an Android device. We are currently working on the release of the Pinguino IDE. It will incorporate Zigbee, ADB and our current job is to incorporate USB Host to connect mouse, keyboard and generally all useful USB devices.
I am very proud of my first Andoid application, even is this one is not optimised as it should be !!

Many thanks to the IOIO project and Ytai Ben-Tsvi, his owner. Most of the job shown here couldn't be done without the IOIO code.
I am very proud of my first Andoid application, even is this one is not optimised as it should be !!

Many thanks to the IOIO project and Ytai Ben-Tsvi, his owner. Most of the job shown here couldn't be done without the IOIO code.
Monday, August 1, 2011
One more time !! PinguinoVE
I like to hear about the Pinguino community.... And the Venezuelian community of Pinguino is still very active. PinguinoVE has been created at the beginning of this project, using Pinguino to teach home made digital electronic. All the guys working on this project are proud to see what Pinguino is used for and I like to present again this great team.

The last event where PinguinoVE was presented in Venezuela is the national congress of free software. During 3 months, in 11 cities, the PinguinoVE team insured presentation and workshop. More than 30 people for each workshop and 400 people for each presentation. The main question was 'What is Pinguino ?' and how can it be used to expand knowledge. The audience was composed of university students,teachers, geeks, government representatives.

And, as usual, Richard Stallman was there.

PinguinoVE website is the main place to see the work of this community.
More photos here.
Thanks Alexis, Jhuliana, Joan and all the team !!
We keep in touch.....
Friday, July 15, 2011
Maddog in Campus Party Valencia
Maddog was here yesterday to celebrate the commemoration of 20 years of Linux. Of course we were there and we took a photo to celebrate with him and all the Campuseros this birthday.


Campus Party Workshop
Hi Guys

Pinguino workshop is more and more active. We are working on communication with sensors with Pinguino32. Infra-red communication is OK, we can now transmit messages with an infra-red led and receive them with a TSOP module. We are going to share the code today on the blog.
Today is our last session, we prepared some code to connect Pinguino32 each other, with IR, Zigbee module and finally, the communication activity will be monitored through a Linksys router with OpenWRT. Benoit is working on a graphical application with processing to display the communication activity.

As usual, Boops is working hard, day and night..........


Pinguino workshop is more and more active. We are working on communication with sensors with Pinguino32. Infra-red communication is OK, we can now transmit messages with an infra-red led and receive them with a TSOP module. We are going to share the code today on the blog.
Today is our last session, we prepared some code to connect Pinguino32 each other, with IR, Zigbee module and finally, the communication activity will be monitored through a Linksys router with OpenWRT. Benoit is working on a graphical application with processing to display the communication activity.
As usual, Boops is working hard, day and night..........

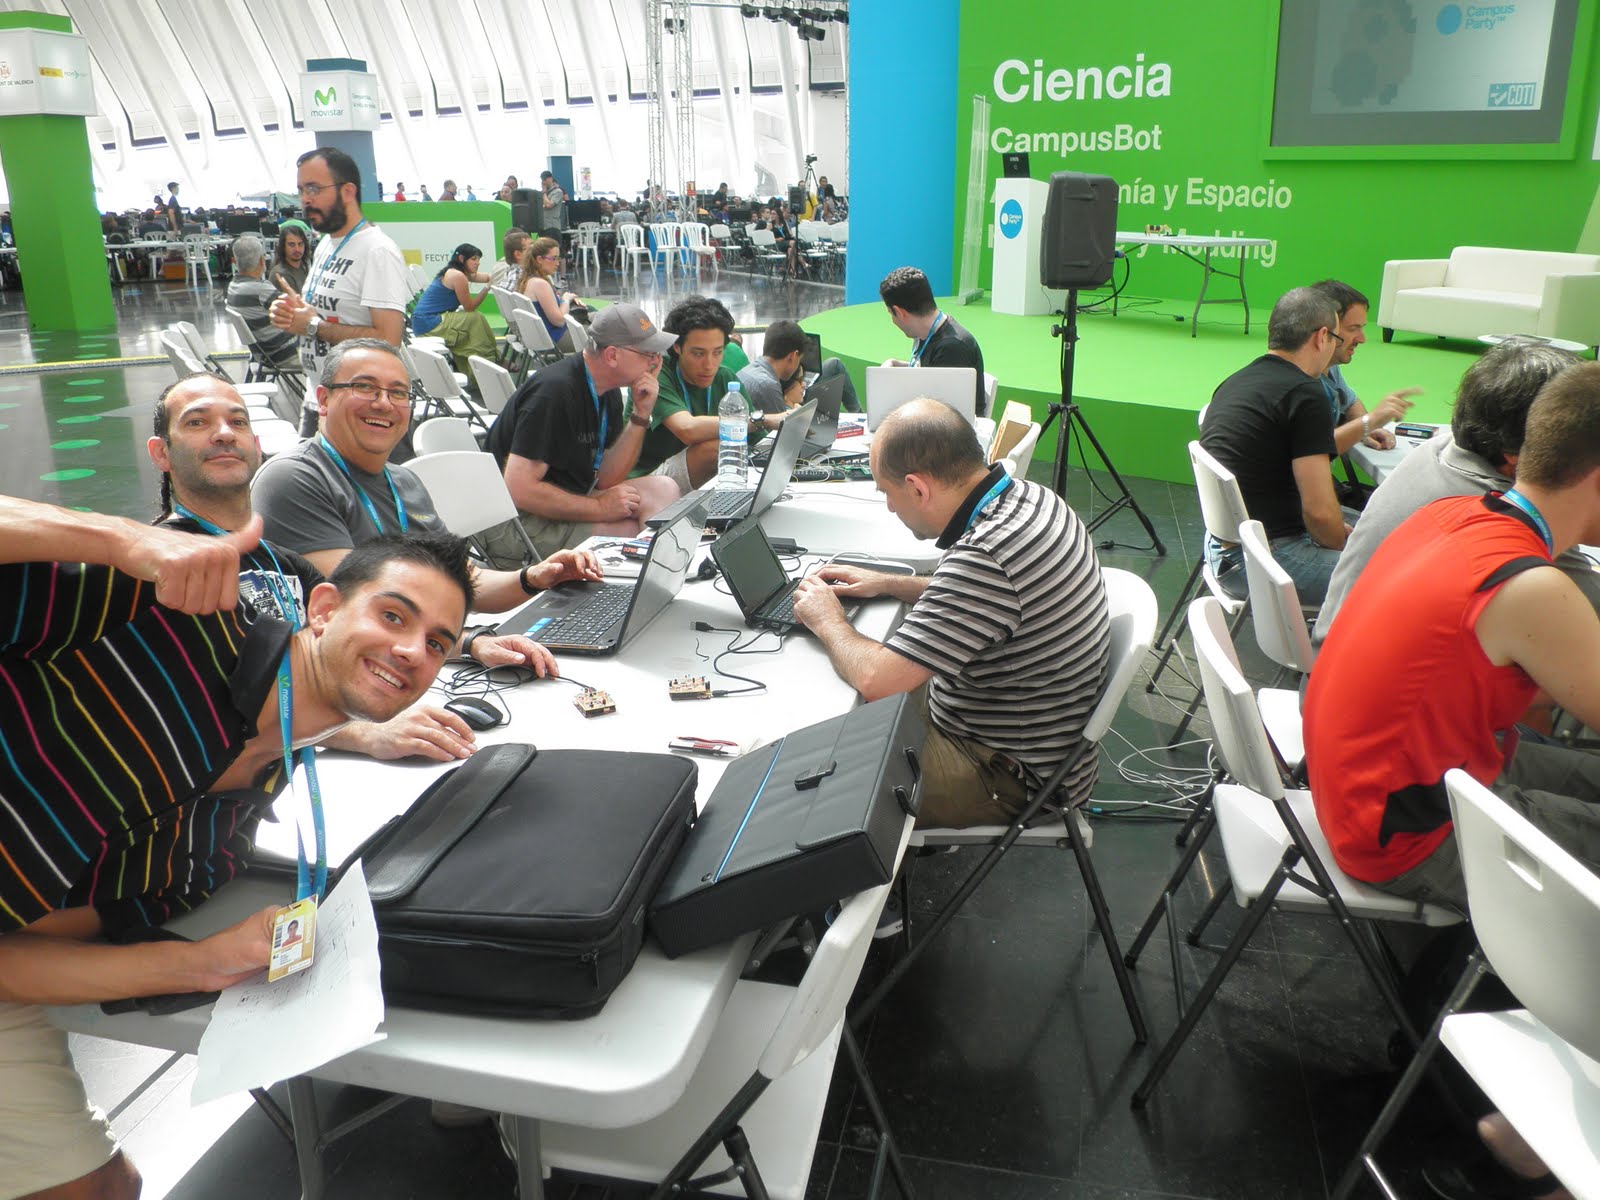
Thursday, July 14, 2011
Campus Party Valencia

As usual, Campus Party is a great event !!
After a quick presentation of Pinguino, we started a "network with sensors" workshop. The goal is to establish communication with sensors beetween PIC32-PINGUINO boards. Light, laser, zigbee, serial and interfacing with a WRT54GL for link with the net.
Fortunately, Boops is with us. He designed a shield for Pinguino 32 with 4 IR LED as transmitter and 2 IR Demodulator as receiver.
 As Pinguino IDE is still an experimental version, the first day has been devoted to installation ( windows and Linux ). The second day, we started to test IR transmission and reception. Today, we will design our 'sensor network' and establish a common protocol.
Benoit is writing a processing application to monitor communication of modules.
Campus Party is a good way to speak about this project, exchange idea, share knowledge and more......
Now I must go to listen and Android application development conference. Yet another interesting subject for Pinguino !!
Sunday, June 12, 2011
PIC32-PINGUINO Power Supply
I want to build a Temperature sensor powered by a solar panel. I made some test to define the comsuption of Pinguino 32 in different configuration:
First configuration:
Pinguino 32 is powered by its power connector with a 9 Vdc power supply.
 The current is about 80 mA on the power supply. Power input is 0,72 Watt.
Second configuration:
Pinguino 32 is powered by its LiPo charger connector ( as it could be with a battery ).

Now the current is about 90 mA. Power input is about 0,324 Watt.
All the tests were done with a clock frequency of 80 Mhz. Then I decided to swith the clock frequency to 40 Mhz and now the current is about 60 mA with 3,6V ( 0,216 Watts ).
Now, just have to find the good solar panel.........
Thursday, June 2, 2011
Yet another Pinguino robot
This robot is controlled with Pinguino. I like this design and it seems to work as Theo Jansen Robots.

Great work, this blog need a visit !!
You can find there a lot of ressources for Pinguino.

Great work, this blog need a visit !!
You can find there a lot of ressources for Pinguino.
Temperature Sensor
I built this very simple temperature sensor with a DS18B20. It is connected on a PIC32-PINGUINO and powered from the data line.

The DS18B20 library is very simple to use, just one line to check the temperature on the sensor:
#define ONEWIREBUS 9 // define the pin connected to the 18B20+ Dline
void setup()
{
Serial.begin(9600);
pinMode(8,OUTPUT);
digitalWrite(8,HIGH); // pin 8 is used to power the 18B20 ( +Vcc )
pinMode(10,OUTPUT);
digitalWrite(10,LOW); // pin 10 is used to power the 18B20 ( GND )
}
void loop()
{
TEMPERATURE t;
if (DS18B20.read(ONEWIREBUS, SKIPROM, RES9BIT, &t))
{
if (t.sign) Serial.printf("-");
else Serial.printf("+");
Serial.printf("%d",t.integer);
Serial.printf(".%d",t.fraction);
Serial.printf("\n\r");
}
}
Now it's time to connect the DS18B20 and the zigbee shield to have a wireless temperature sensor !!

back view

Front view
Subscribe to:
Posts (Atom)